Collector is an excellent cross-country site, even for beginners. It’s also arguably the best Canberra site for going big distances. But Collector can be tricky. It can take several attempts to catch a thermal. It can be hard to stay below airspace. It can be hard to know which way to go. This article will give you some tips to help you get up and away, and on the road to Gundagai.
What follows is based on my experiences as a beginner and intermediate paraglider pilot flying the following routes from Collector, mostly on a Mentor 4 (a high-B wing):
- 42km west to Murrumbateman (on a Swing Arcus 7, a low EN-B wing) (third attempt of the day),
- 40km north-west to Jerrawa (xcontest) (ayvri) (first attempt, but took a slow bumpy climb over the back),
- 88km north-west to Boorowa (xcontest) (ayvri) (first attempt, but took an hour to core a good thermal),
- A short winter hop to Gundaroo,
- 40km east to Tarago (xcontest) (ayvri) (third attempt, low save),
- 188km west then south-west to Tarcutta (xcontest) (ayvri) (second attempt).
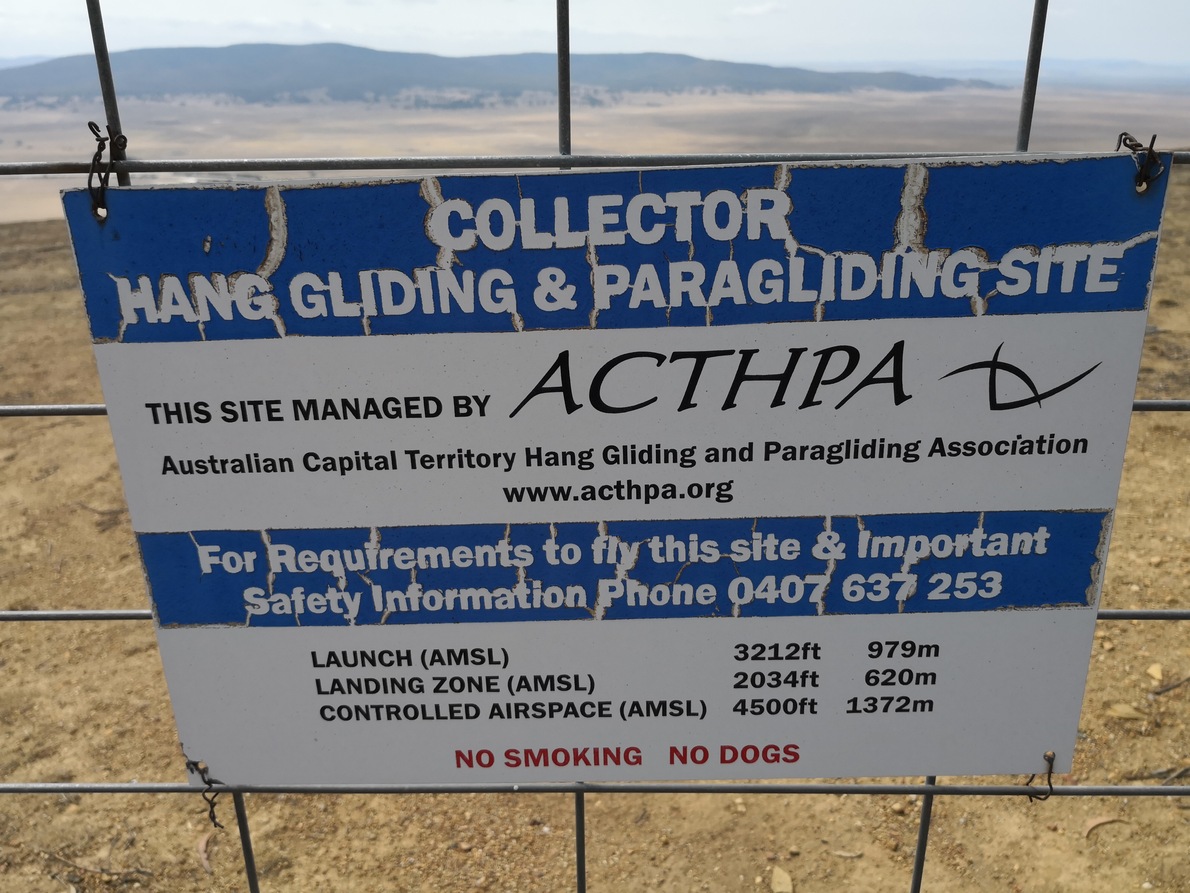
Note that when I say ‘Collector’ in this article, I mean the launch, not the nearby town it is named after.
Adjust the basic XC algorithm
The basic XC algorithm is:
- Find a thermal,
- take it to cloudbase,
- glide downwind,
- goto 1.
On a day with some wind this is actually easier to do than staying over launch, since any thermal you catch will drift with the wind.
For Collector we need to adjust the algorithm a little:
- Find a thermal,
- did that work?
- no: walk/drive back up the hill and goto 1, or
- yes: take it to
cloudbaseairspace,
- is there lower airspace downwind?
- no: glide downwind, or
- yes: glide in a direction that doesn’t take you into lower airspace,
- goto 1.
Finding a thermal at Collector
You haven’t got a lot of height to work with at Collector to catch your first thermal. There are two scenarios here: when there is enough wind to ridge soar, and when there isn’t.
Finding a thermal when it’s ridge-soarable
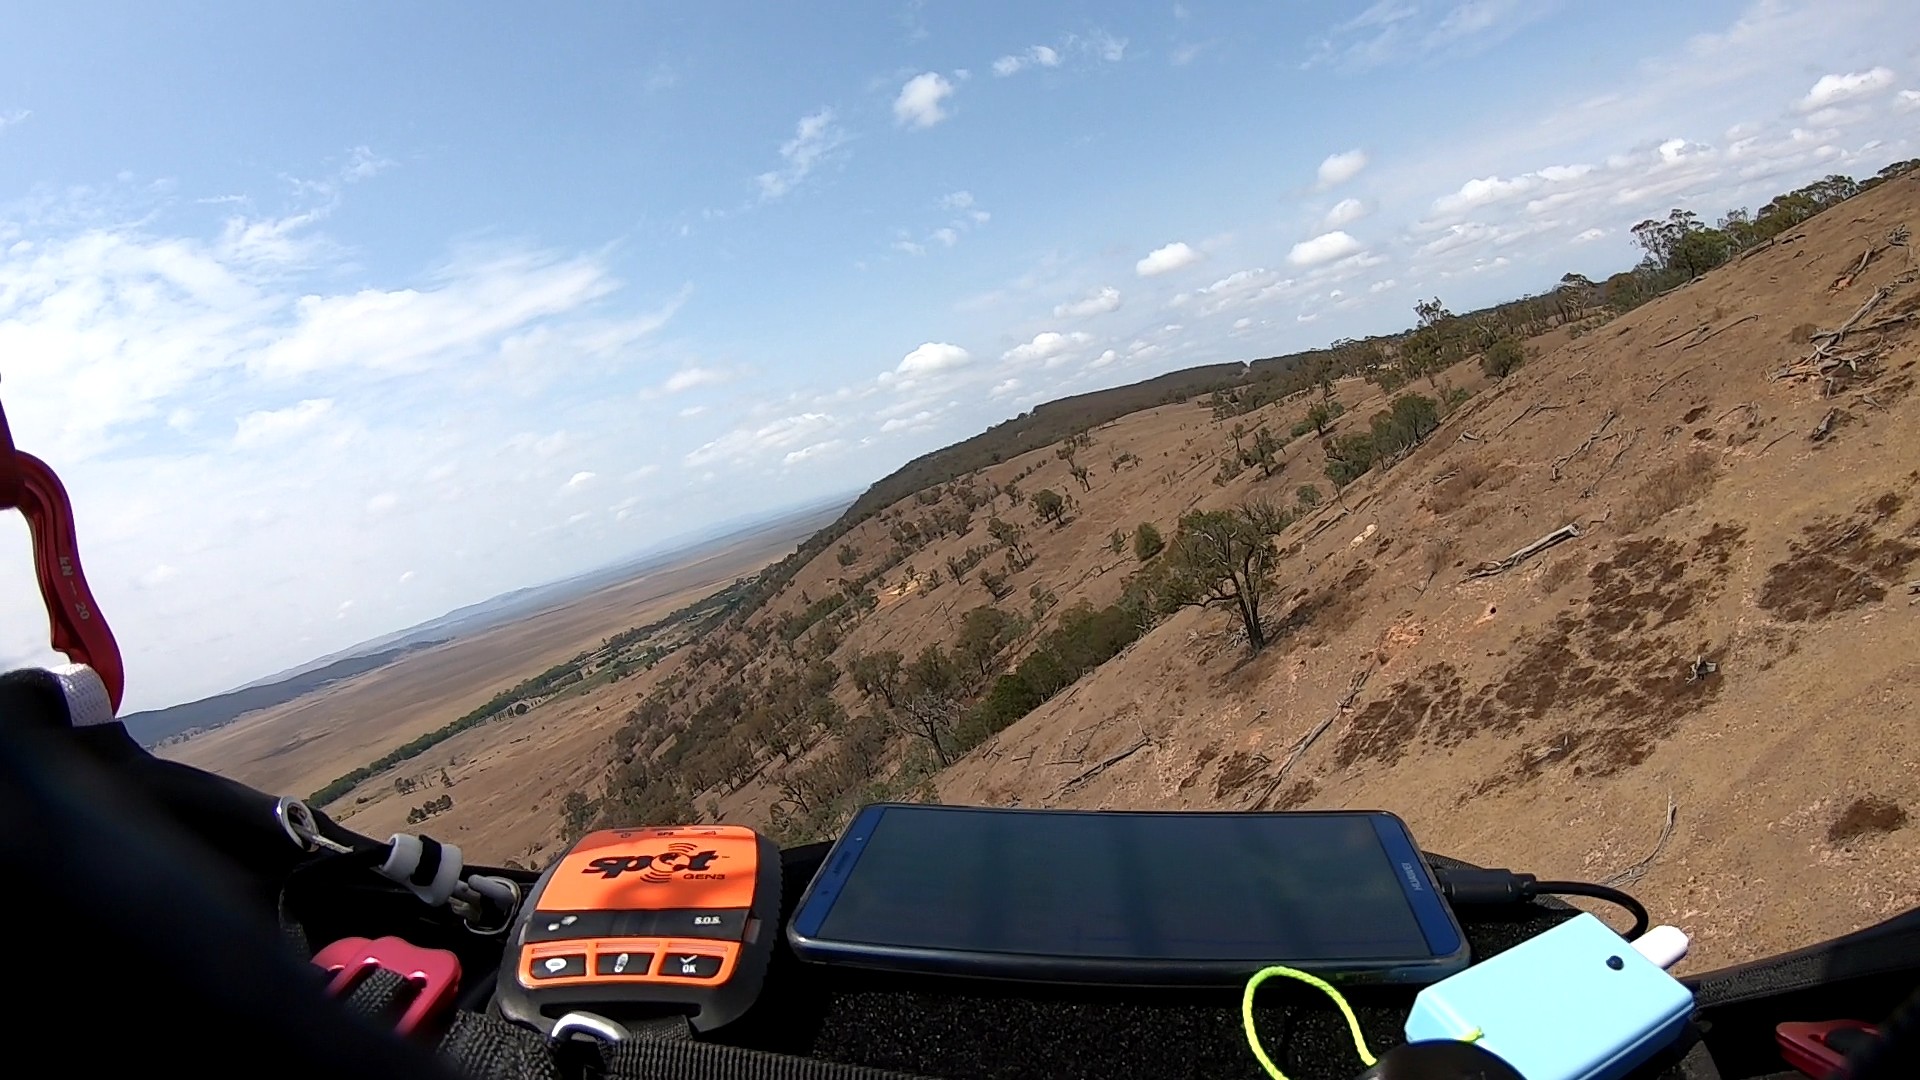
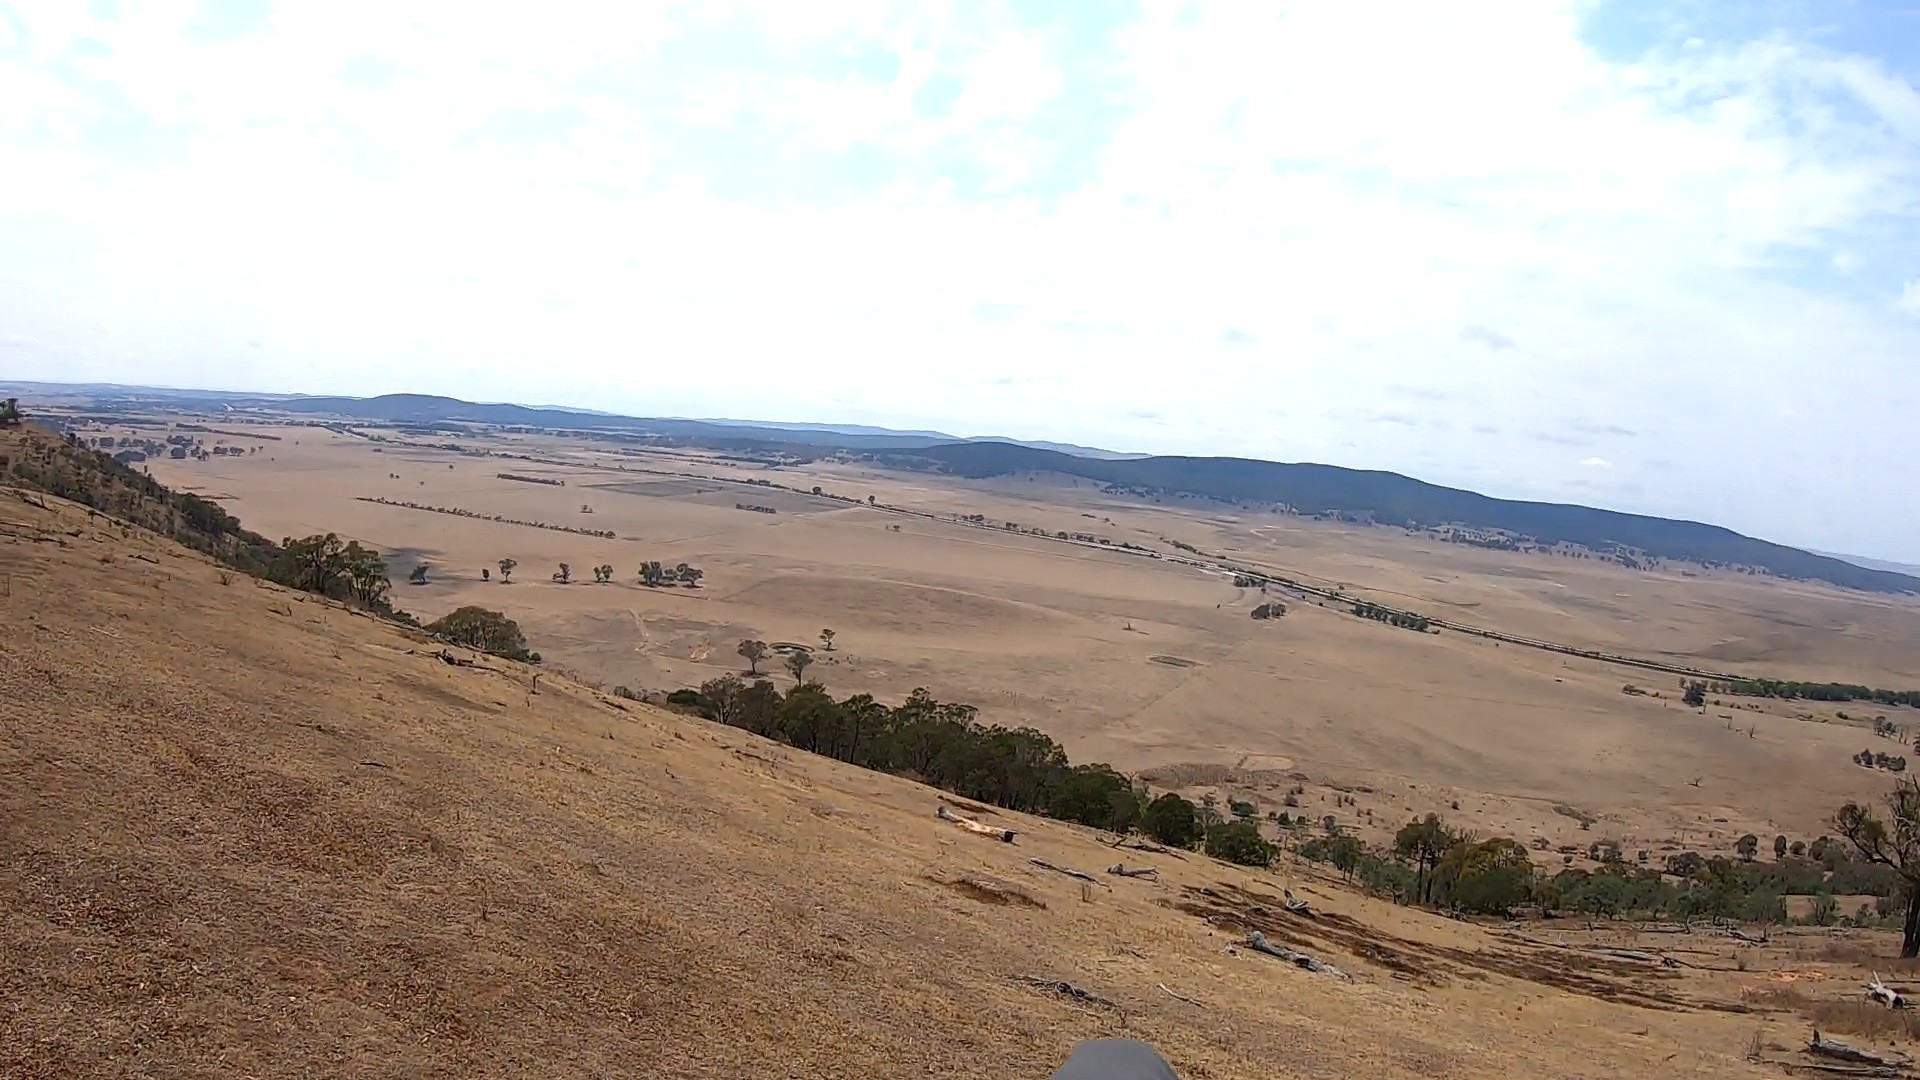
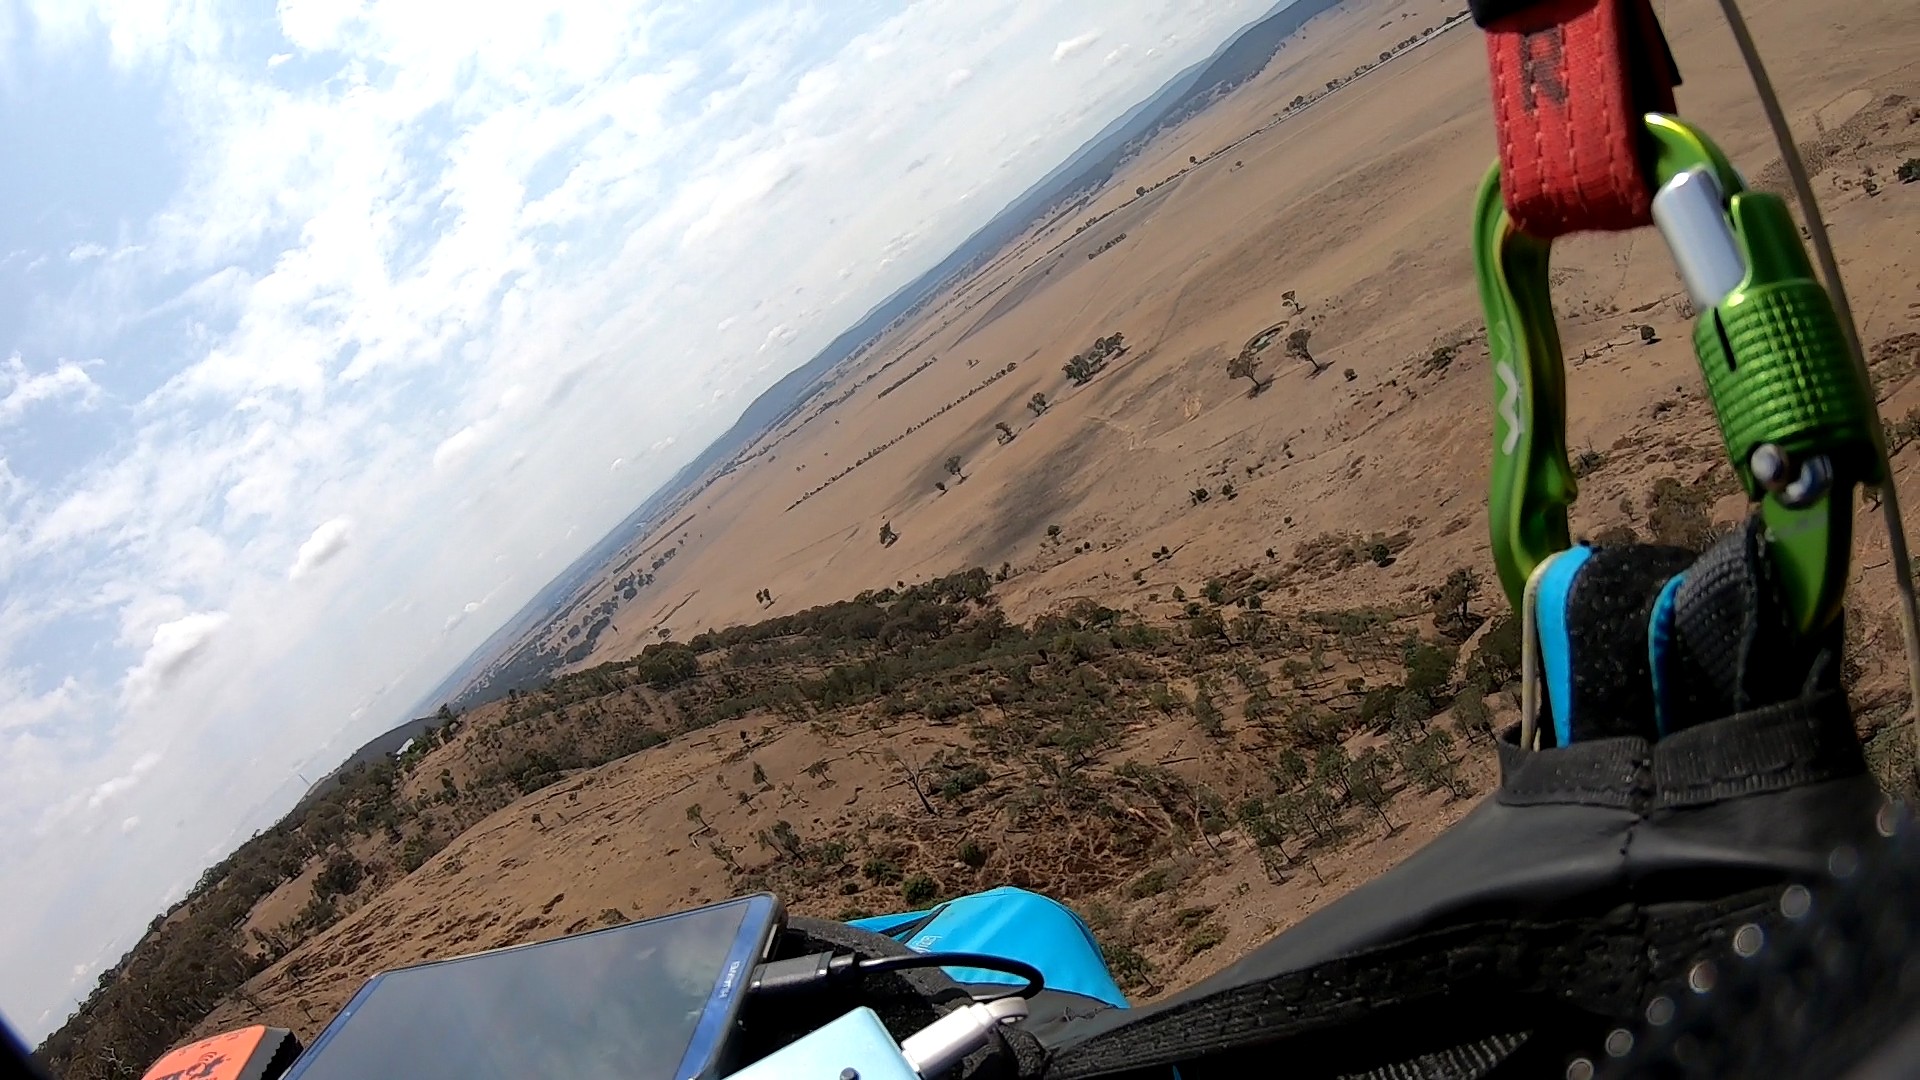
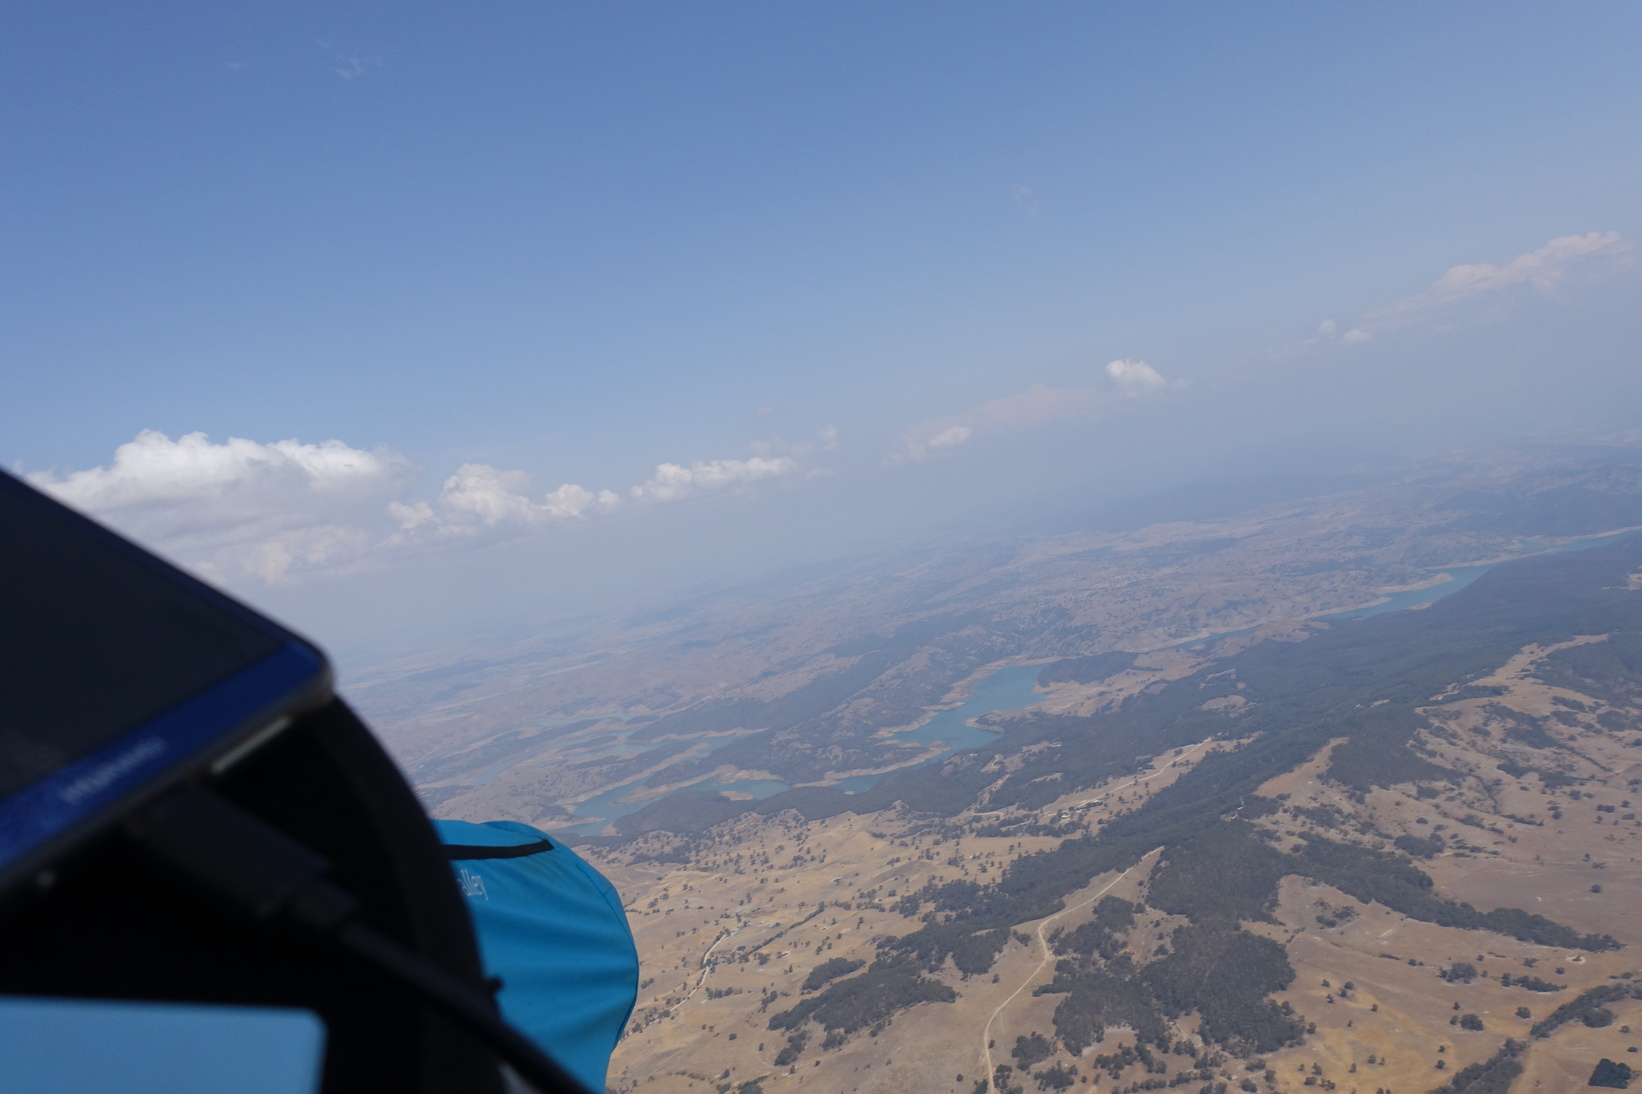
Collector is on the Lake George ridge, so in a strong enough easterly it is easily soarable, and on a thermic day the thermals will come to you. But when they get to you they can be quite broken, and when you catch one it will take you over the back. As you get higher you will get further back behind the ridge, and it won’t be long before getting back to the ridge into the headwind will cease to be an option. So at some point you have to decide whether to commit to this thermal or head back to the ridge. This decision is made harder when you look at the country behind the ridge. There are an awful lot of trees down there! But it isn’t actually as bad as it looks, for two reasons. First, there are actually plenty of gaps in the trees if you look for them, so landing would be an option if it came to that. Second, the thermals always seem to consolidate behind the ridge, especially as you get higher. So going over the back early is an option.
If you don’t like the option of going over the back early, then don’t catch the thermals over the ridge. Head out from the ridge and catch a thermal over the flat. This way you can get height before you commit to going over the back.
Finding a thermal in light winds
The other scenario is a day with very little wind. Here the challenge is finding a thermal before you lose all your height. This is pretty much up to luck12. You have several options: go right, go straight, or go left.
If you go right, there’s first a gully which can often squirt out a tight, turbulent thermal (don’t worry, it will get smoother up higher). After that the ridge over the winery is often a great source of thermals, but also has some occasionally-unfriendly eagles. If you get low on the ridge over the winery then take care as you head back to the LZ – powerlines criss-cross this area.
If you go straight, then you could get a thermal straight away over the steepest part of the ridge. If not, keep heading out over the landing paddock or anywhere really. You never know what’s going to work.
If you go left, north towards the house, then there are plenty of opportunities for thermals, but as you pass the house keep a close lookout for the powerline that runs down from the top of the ridge. It is very hard to see. Pilots have flown under it before before seeing it.
Basically in light winds it’s anyone’s guess where the thermals might be. Keep a look out for clouds, birds, or ‘wind technicians’ to give you a clue, but be prepared not to catch a thermal on your first (or second, or third) try.
If you get up on a light wind day then you can go any direction you like (except directly south), so it’s worth persisting. Head north to Collector, then on to Goulburn, or east to Tarago, then on to Braidwood or even Captain’s Flat, then follow the Tinderrys south towards Cooma.
Expect to bomb out – persist!
It’s pretty common to bomb out at Collector. But I’ve had great flights on my second and third attempts of the day. So the real key to doing well here is persistence. Don’t be disheartened when you bomb out, just realise that luck didn’t go your way this time but it may yet before the day is out. There’s less than 200m vertical to work with, so there really is a large element of luck required. If you’re walking up then treat this as an opportunity to do some fitness training. This is part of the mental side of paragliding, and this too takes training.
The quickest way back up, if you’re fit, is to land at the bottom of the ridge and walk back up. It’s a steep climb that way, but not so far really. If it’s been raining recently then beware of the swamp between the LZ and the ridge – it can be almost impassable. To avoid it, land nice and close to the ridge, but look out for fences and blackberries, and of course powerlines3.
A longer but less strenuous way to walk is up the spur to the south of launch.
If there are a lot of pilots flying then at the start of the day you may have arranged to meet at the LZ and car-pool your way up to launch. So now you have an assortment of cars to drive up in groups as you bomb out. This is slower than walking up because it takes time for bombed out pilots to walk out, gather, work out whose car they are taking, and then drive for a good 15 minutes back to launch. But it’s less sweaty.
Stay below airspace
If you manage to core a decent thermal, then you may soon find that staying up is easy, but staying below airspace is not. The Collector launch is just north of an airspace boundary: it steps up from 5500’ (1676m) just to the south, to 6500’ (1981m) over launch. So if you caught your thermal south of launch, or if the thermal has any southerly drift in it, then you may stray into the 5500’ zone. This is ok, it just means you need to leave the thermal even earlier.
It can be hard to stay under even the 6500’ airspace on a good thermic day. The strategy I have adopted is based on my current height below airspace, in metres, which XCTrack shows me pretty clearly.
- 500m below: go hands-up, fly straight,
- 400m below: add speed bar,
- 300m below: remove speed bar, add big-ears, re-apply speed bar gradually,
- 200m below: big ears and full speed bar,
- 100m below: emit expletives.
Using this strategy I have still come within 90m of airspace before escaping the lift.
It may seem extreme to start trying to leave the thermal 500m below airspace, and on some days it is overkill, but I really don’t want to breach it, and this seems to be what it takes. The problem is that your 3m/s climb may actually be a weak core in a 6m/s thermal that is hundreds of metres across, mostly downwind of you, and getting wider the higher you go. In this situation, when you go hands up and fly straight you start accelerating upwards, and you’ve still got a lot of thermal yet to fly through.
Of course you also run the risk of flying straight at 500m below airspace and immediately hitting sink. In fact, you will often hit sink after one of these big thermals as well. A tip is to try to leave thermals at a 45 degree angle to downwind, to avoid the strongest sink which is often on the leeside of the thermal. Regardless, once you leave the thermal, breathing a sigh of relief at not having breached airspace, you will shortly be desperate for another climb. It’s great fun.
Glide downwind
If the airspace doesn’t get lower ahead of you, then glide downwind. If you’re wondering whether it’s worth gliding cross-wind in order to reach even higher airspace, the answer is usually no, it isn’t. I tried this tactic on my Jerrawa and Boorowa flights, and you can see the zig-zagging path I took as a result. Compare the average speed of those flights with that of my Tarcutta flight, which was more-or-less downwind.
Glide north of west
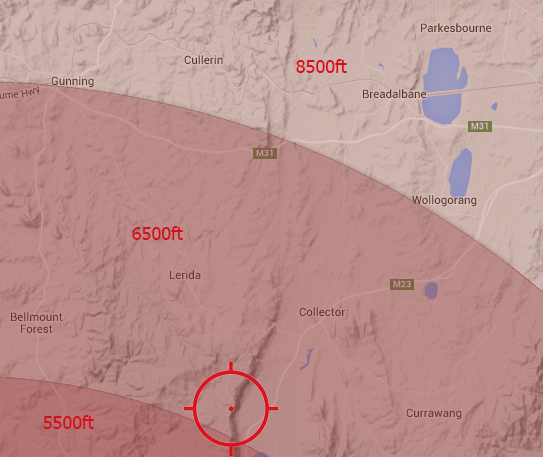
If you look at a map of the airspace around Collector, the top of the 5500’ circle is directly to the west. So if you simply fly due west, your headroom below airspace will suddenly drop by 1000’. On a day with low cloudbase, this may be fine, as there may be no chance of breaching airspace anyway. But generally I would recommend heading slightly north of west, so that you stay in the 6500’ airspace.
Tiger country
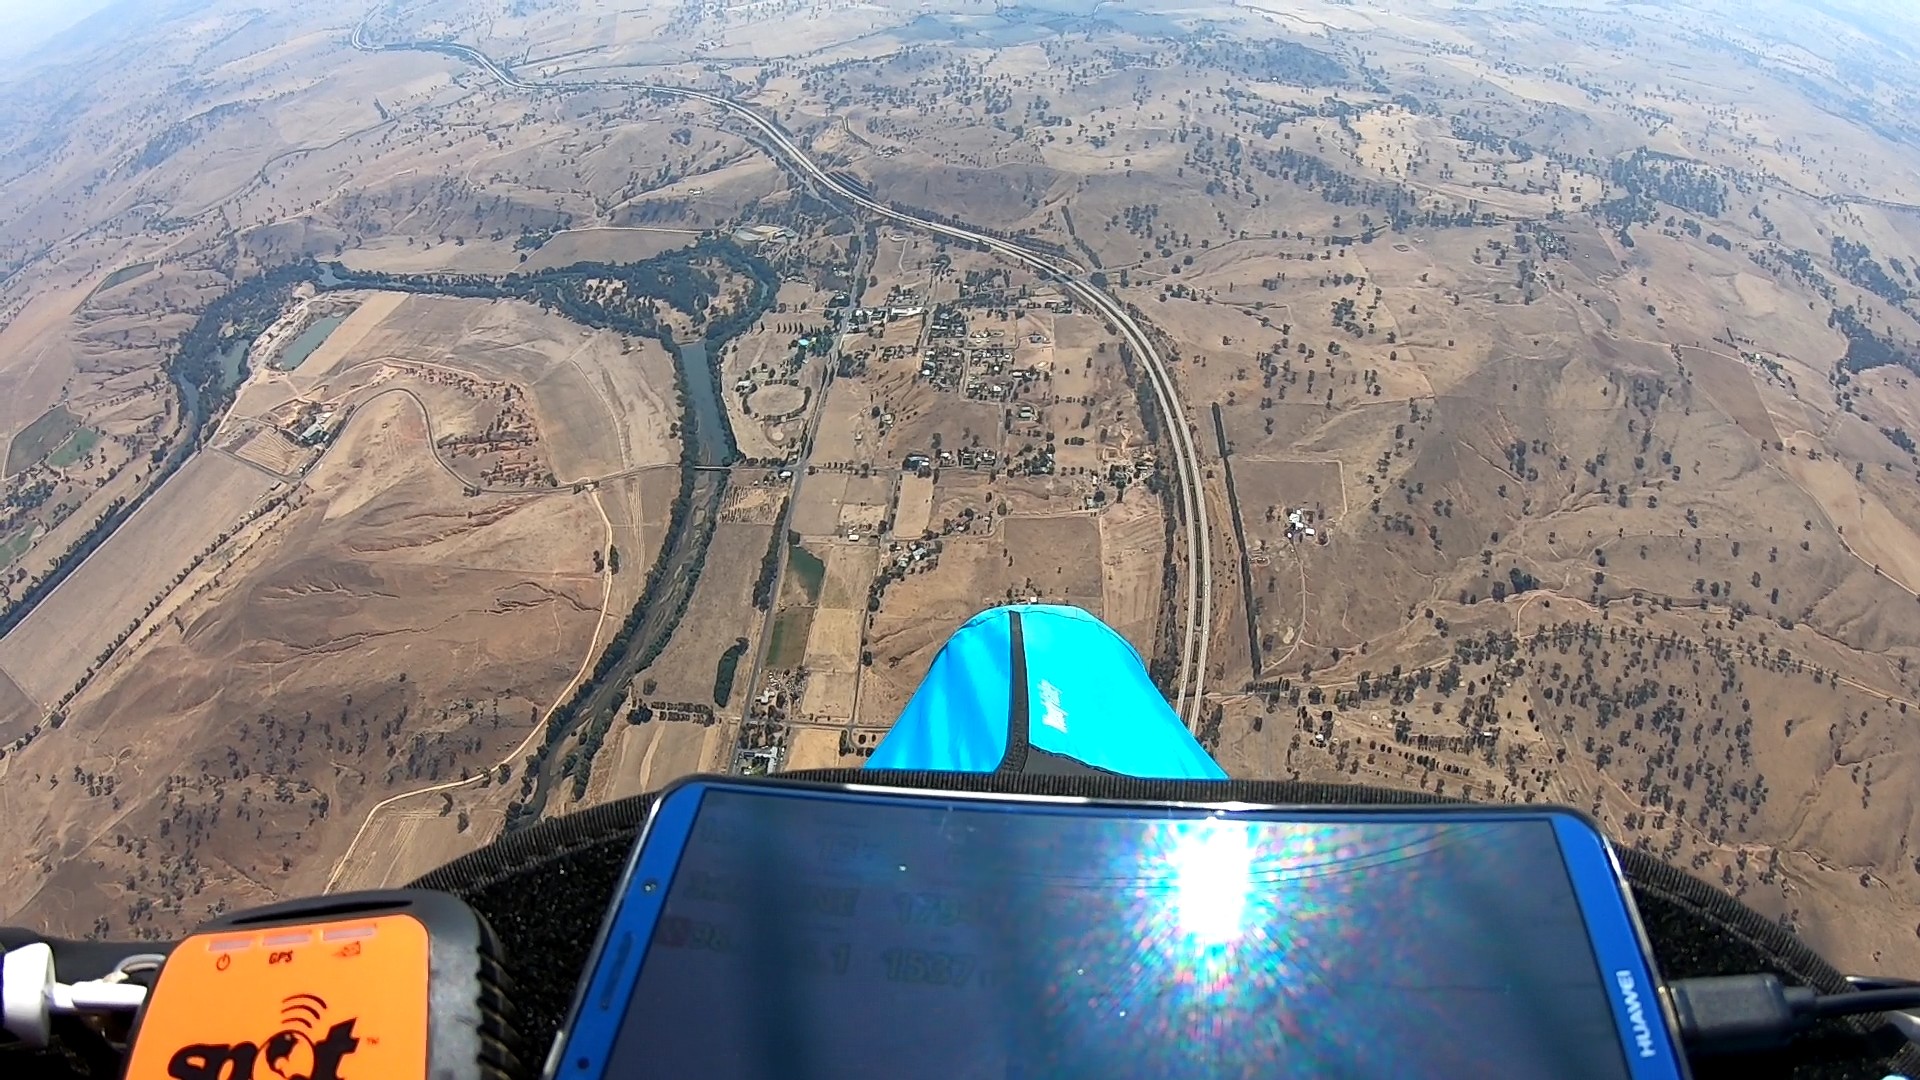
Once you get high over Collector, and look to the west, you might think that you really don’t want to go that way. It’s all “tiger country”, i.e. forest. But if you take a closer look on a map you’ll see that there are actually plenty of clearings in this forest, especially if you head WNW to start with, then due west once doing so won’t take you into lower airspace. And once you go a bit further and get into the forested hills, you’ll probably find that there are plenty of thermals, and your problem will once again become staying below airspace, not landing in tiger country.
Where to From Here?
If you get past the tiger country then go straight on ’til morning.

If you keep heading west or north-west then you’ll eventually reach the Hume Highway, so you can follow that to make the retrieve easier. It eventually turns south-west. Note that if you follow that too far you will eventually get to Albury’s airspace, so it’s probably better to head west again, towards Wagga.


See you out there!
I hope this has been useful, and it encourages you to get out to my favourite site and have an adventure. If you have any questions, feedback, or tips of your own, please contact me at alex@farfromthere.net.
Jonathan Bishops adds: “Something I do to find that first thermal on a light wind day is look for localised areas of trees/leaves moving, which is often the thermal leaving the surface. Also if I’m low and feel I’m drifting in a direction that isn’t the prevailing wind, it is often the air being drawn towards a strong thermal.”, and “I like to think there is more to it than just luck 😂”.↩︎
Stuart McElroy adds: “There is sometimes a form of ‘hill convergence’ extending from the vineyard eastward. I’ve used this twice to access the Currawang massif that you see on the other side of the highway when looking east from launch. Also, if you are loitering around out the front the highway is a great trigger, and so too is the lonely tree in a big paddock…there is one out in the paddock east of the dentists house which the eagles use, and I’ve had some luck with too. Also, the steepness and orientation of the ridge means the section out the front of launch goes shady relatively early. In light conditions, this makes it sometimes a case or either launching early when the sun is still hitting the launch ridge, or being prepared to go out to meet the thermals…ie leaving the ‘comfort’ of the ridge and just heading out and hoping that the sun/shade line is triggering.”↩︎
Wes Kilham adds: “When you inevitably land at the base of the hill at Collector, having avoided the power lines and the boggy gully, also try to avoid the snakes in the warmer months. There are a lot.”↩︎